How to create an authorization file
First, you need to login to the Google Developer Console
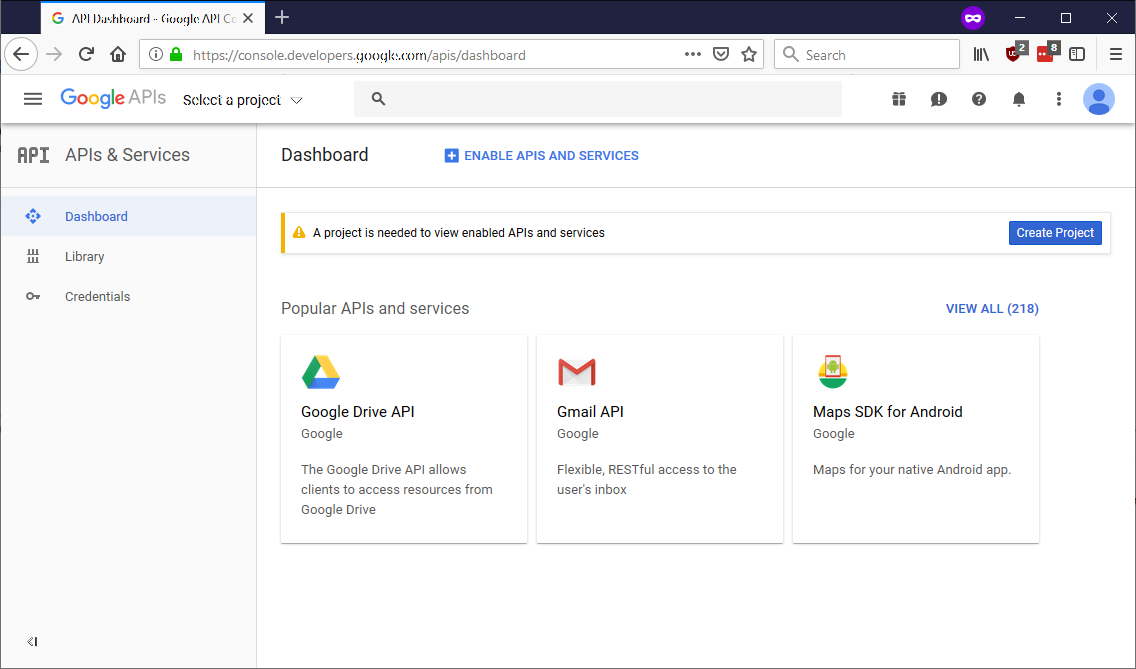 Next, you click on
 Create Project in the top-right area of the screen.
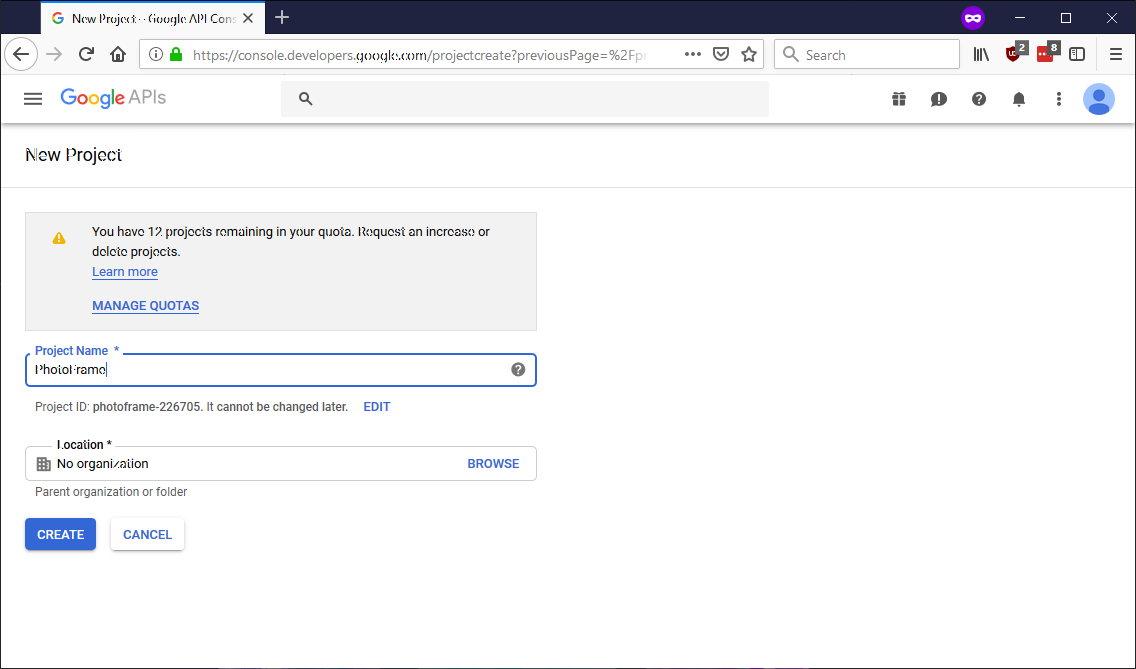 On this page you name your new project. For this purpose of this guide, we'll call it
 Photoframe. After entering this into Project Name *, click CREATE
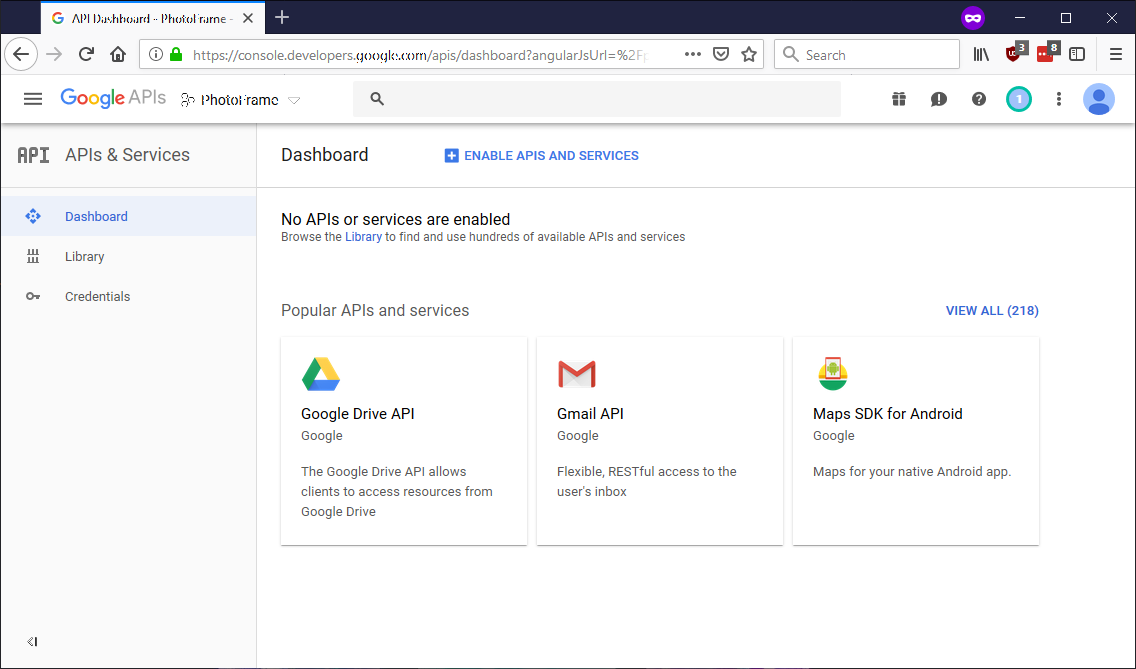 At the top of this page (on the left) you can now see your project name, Time to active the API we need to use. Click on
 ENABLE APIS AND SERVICES.
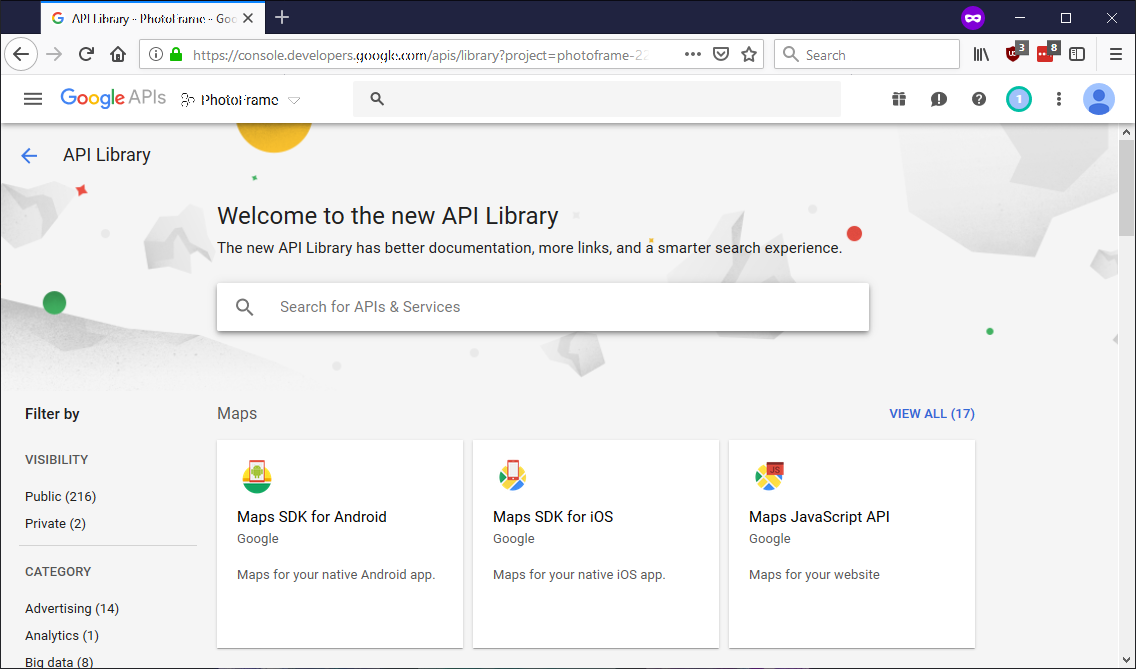 Here we simply enter
 photos into the search box in the middle of the page and hit enter.
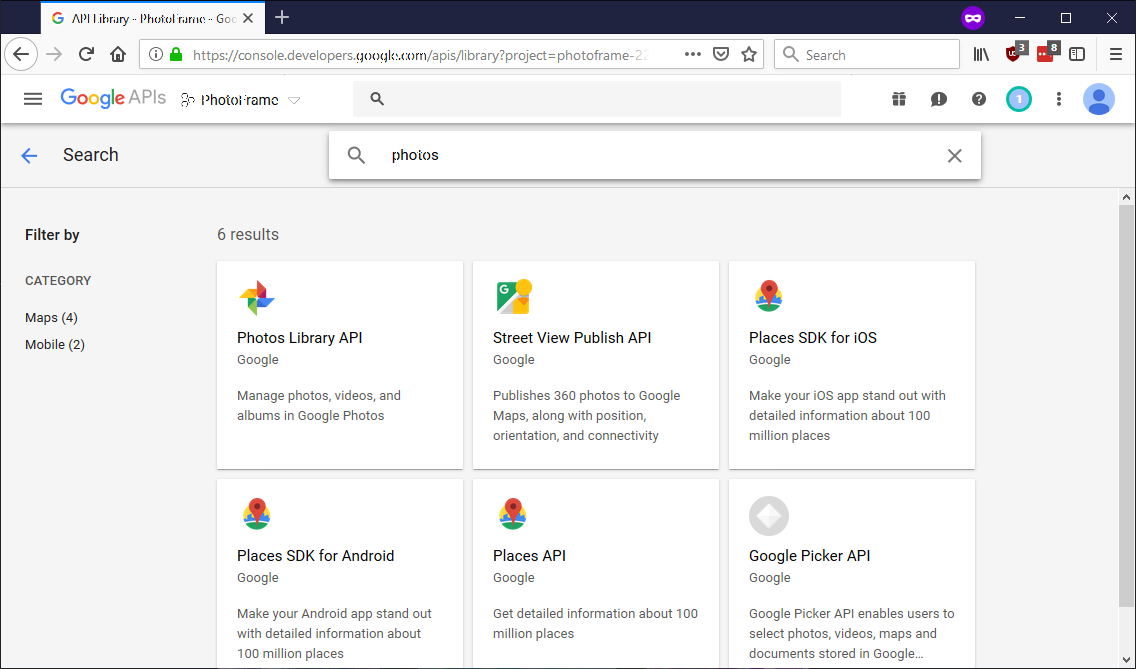 Our API is called
 Photos Library API so click on that one (middle left side)
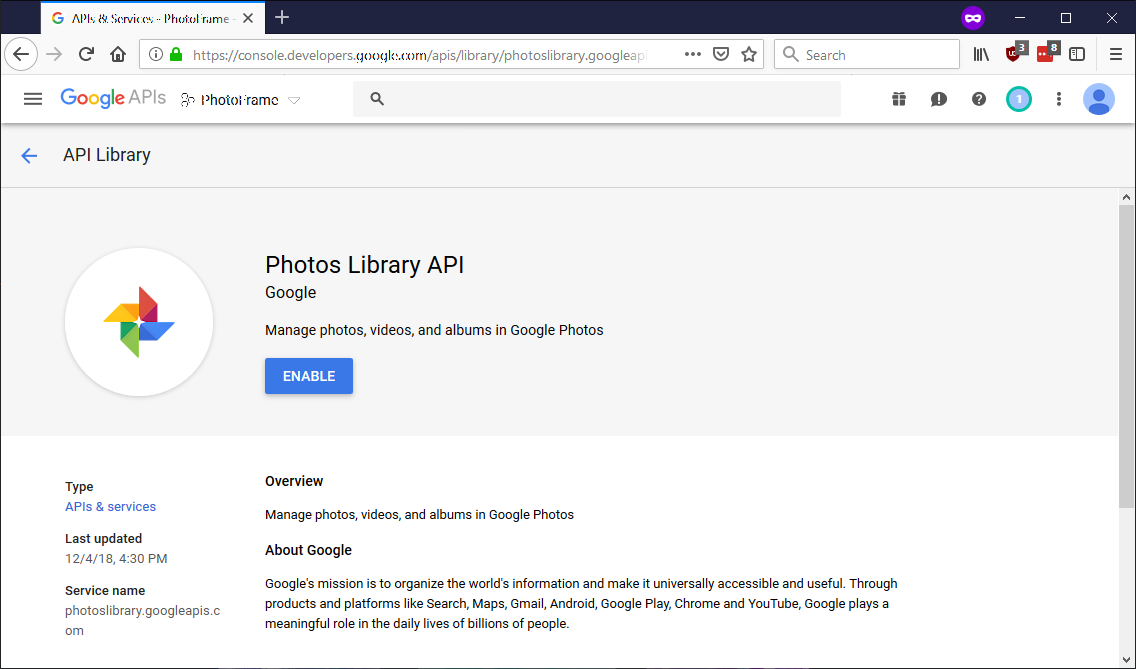 All to do here is click
 ENABLE and wait
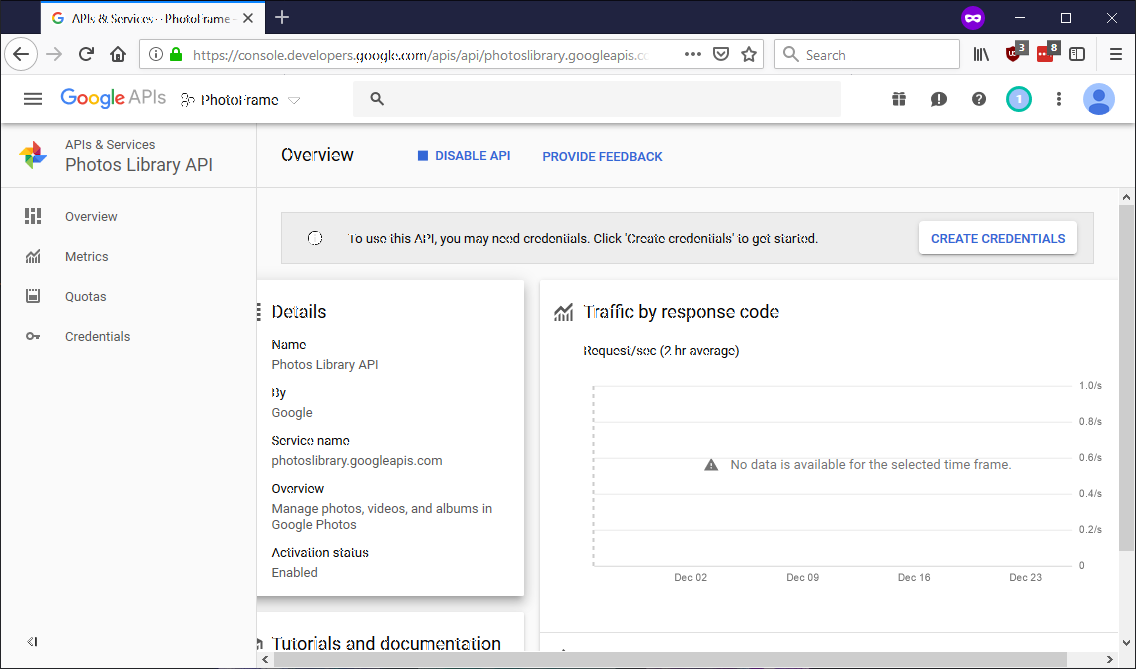 We're back again to the dashboard but now it's more crowded. Do NOT follow the suggestion on-screen, instead click on
 Credentials on the menu bar to your left.
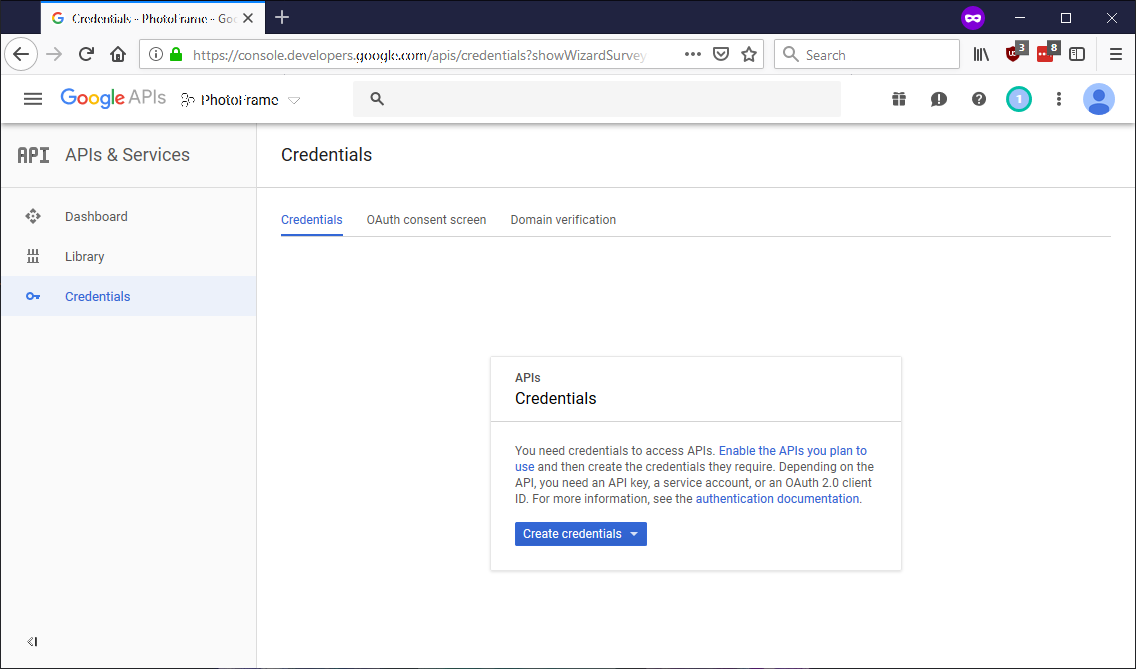 Here we want to click on
 OAuth Consent Screen in the middle top.
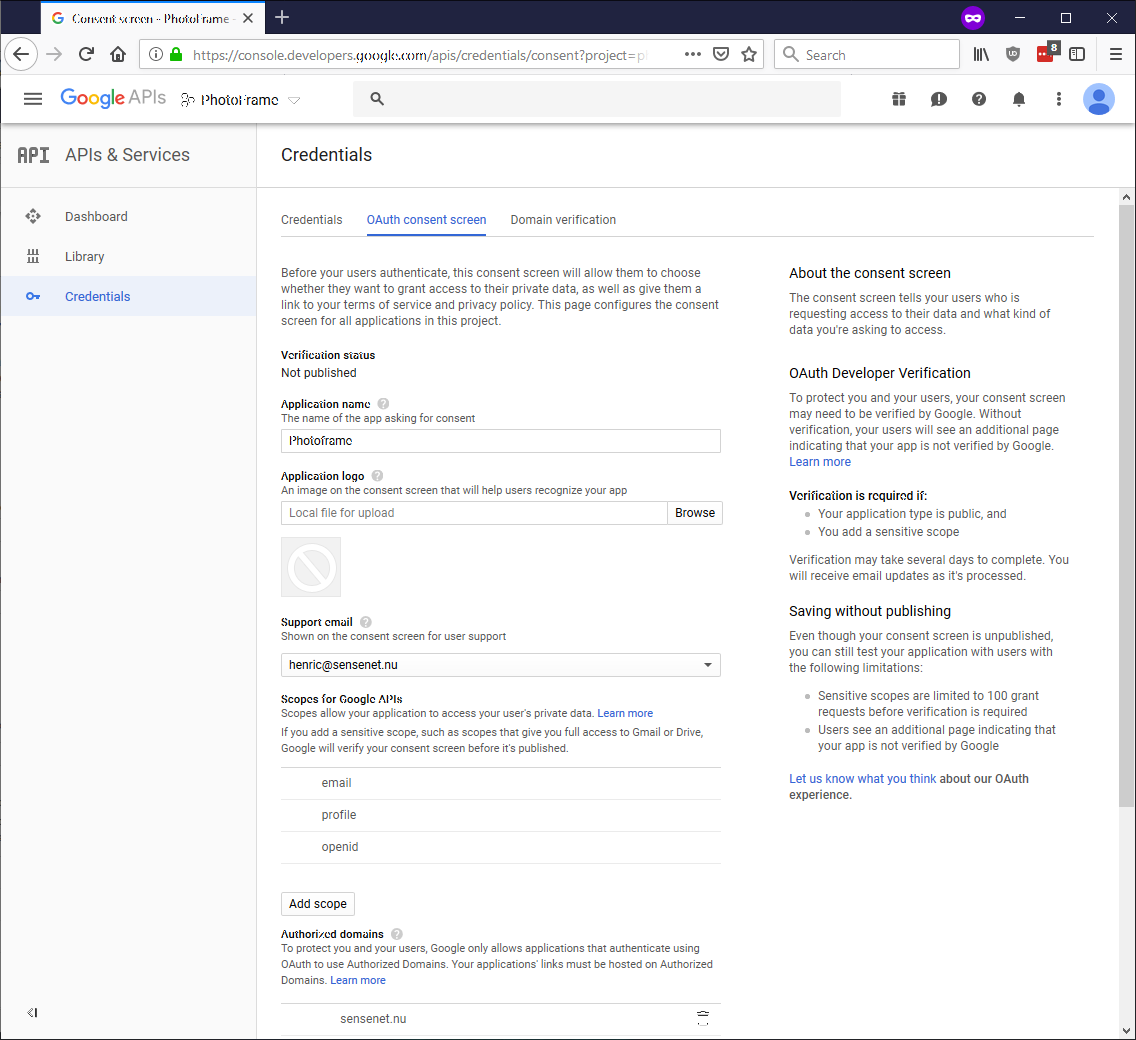 Time to fill out what we need, in the
 Application name field, we need to provide a name, for the purpose of this guide we will call it Photoframe. Next, scroll down the page...
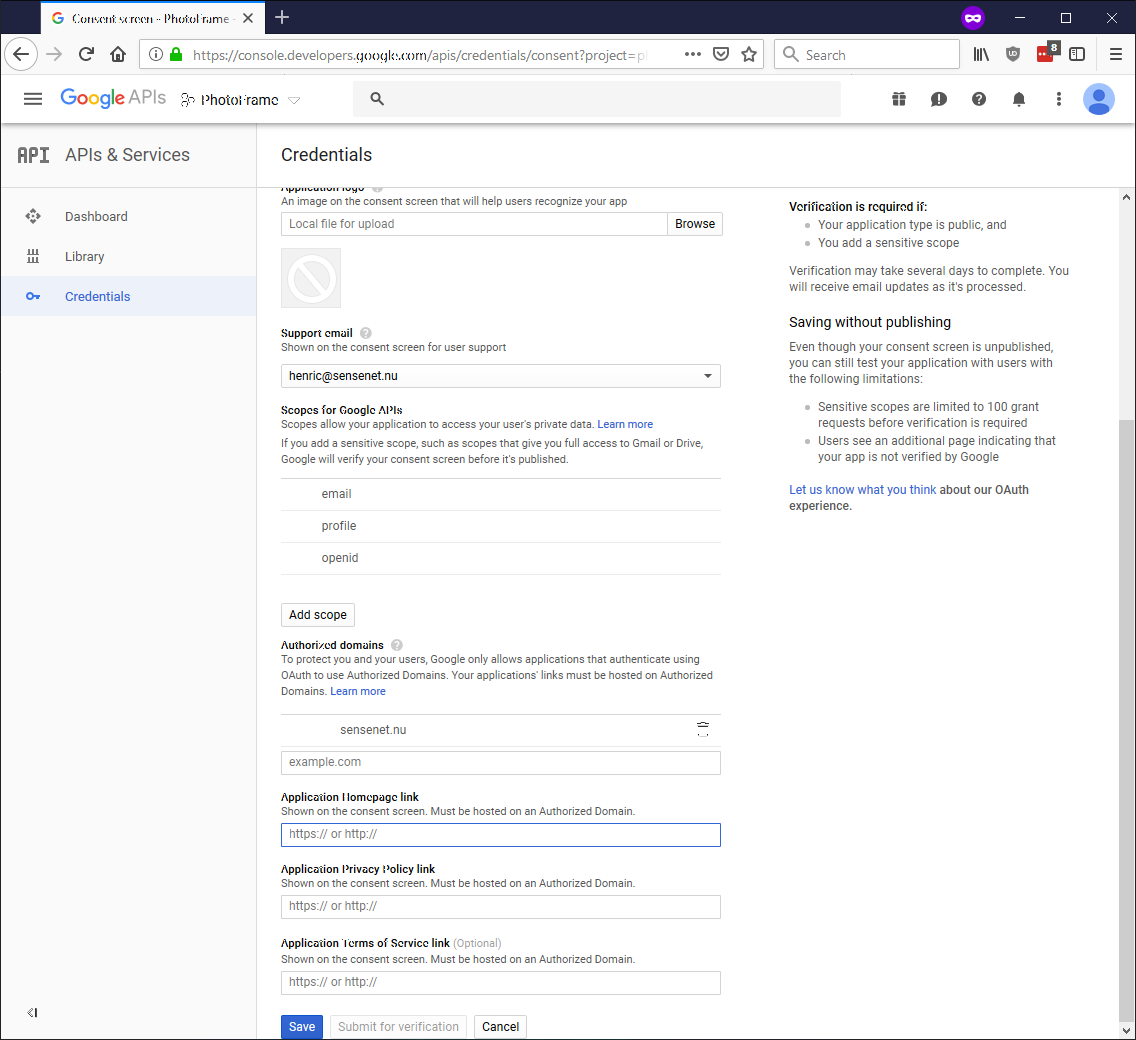 ...and add
 sensenet.nu to the Authorized domains. Don't forget to hit enter so it moves into the list above the input box. Once this is done, press Save.
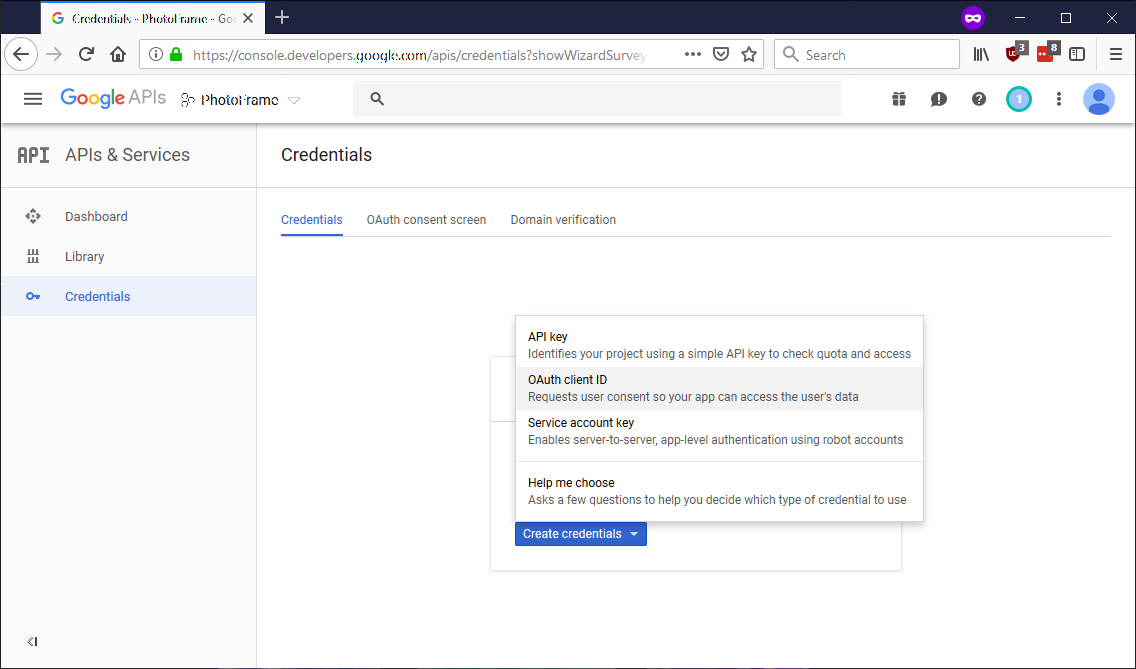 You should be back on the
 Credentials tab but if not, click it so you see this screen. Next, click Create credentials and select OAuth client ID from the list.
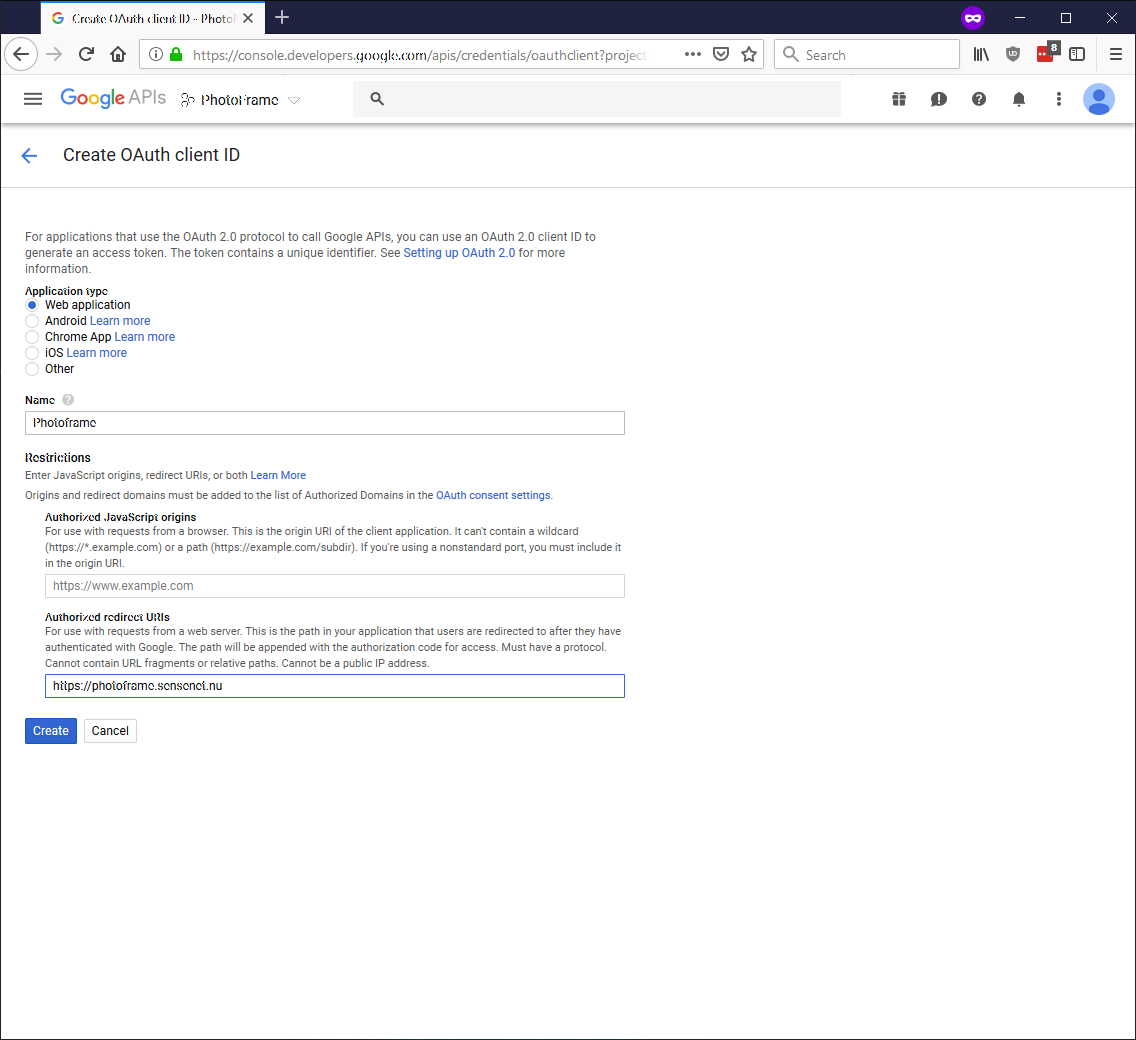 Start by selecting
 Web application and then proceed to enter Photoframe into the Name field. We also enter https://photoframe.sensenet.nu into the Authorized redirect URIs.
MAKE SURE THIS IS VERBATIM AND CONTAINS NO EXTRA SPACES, OR YOU WILL HAVE TO REDO THIS SECTION
Finally, click Create
 This screen can just be dismissed by clicking
 OK
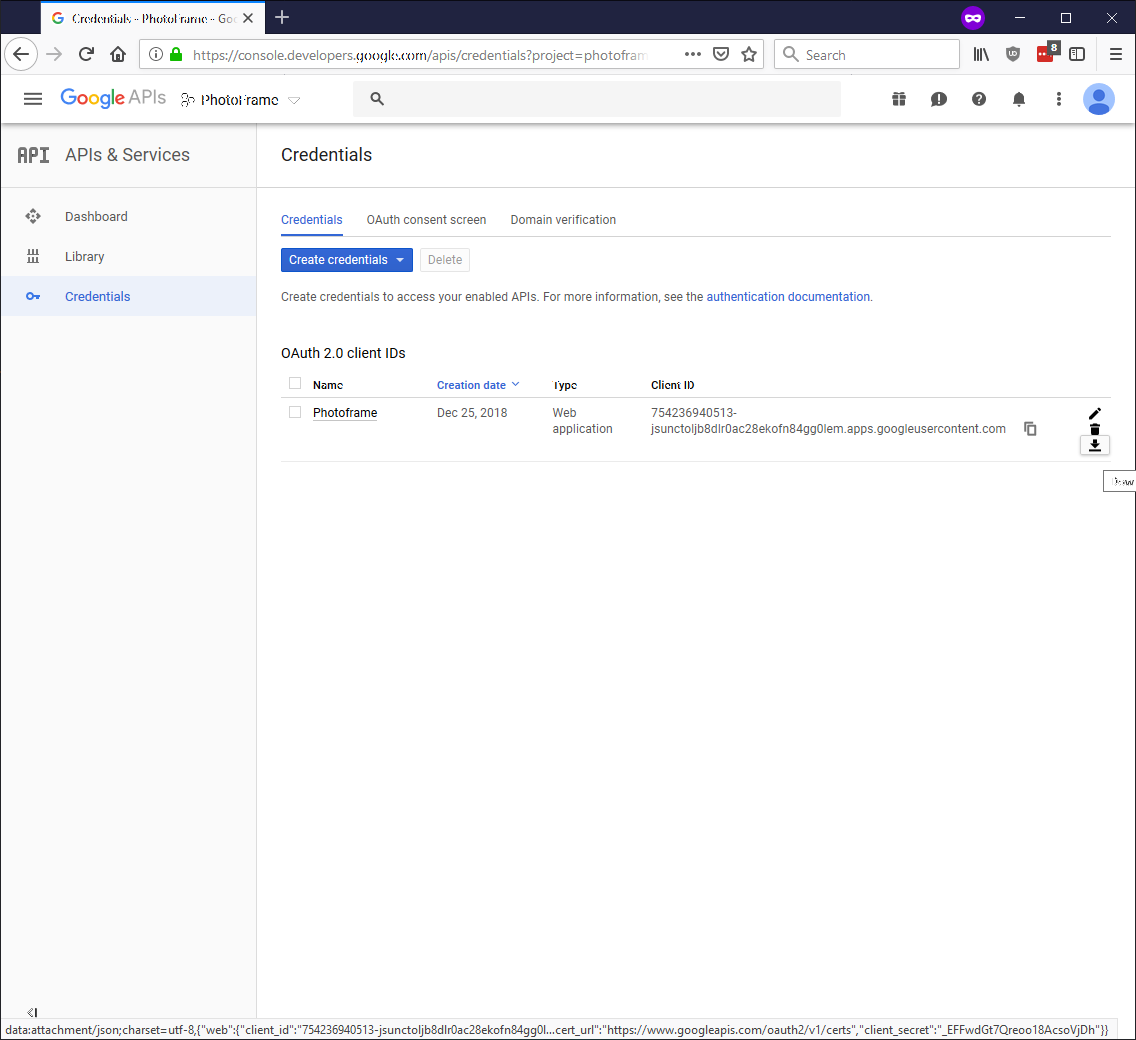 Click the down arrow with a line on the right-most part of the screen associated with our
 Photoframe entry. This will prompt you to download a .json file.
This is your authorization file which photoframe needs when using either GooglePhotos or PicasaWeb.
It's enough to do this ONCE, the file can be reused as long as you wish to access your google photos. If you have multiple google accounts, you'll need to create one authorization file PER account and add multiple instances of the photo provider with different JSON files.
The use of Photoframe as names in this guide is optional and can be replaced with what you deem necessary.