Python
Reproduced from https://www.geeksforgeeks.org/python-language-advantages-applications/
Python is a high-level, interpreted, and general-purpose dynamic programming language that focuses on code readability. It generally has small programs when compared to Java and C. It was founded in 1991 by developer Guido Van Rossum. Python ranks among the most popular and fastest-growing languages in the world. Python is a powerful, flexible, and easy-to-use language. In addition, the python community is very active. It is used in many organizations as it supports multiple programming paradigms. It also performs automatic memory management.
Python is an open-source, general-purpose programming language run by a US not-for-profit called the ‘Python Software Foundation’. Python is also extremely commonly used. If you see yourself as a hobbyist and like to run personal projects, it is great to learn Python. If you want any kind of ‘tech’ career, Python is an absolute must (and JavaScript, C#, Ruby etc; though Python makes it easier to learn these).
In neuroimaging, a lot of newer libraries and processing pipelines are being written in Python; particularly those using the BIDS framework. Familiarity with the syntax and structure of Python will help you understand these different tools, even if you aren't writing your own code in Python.
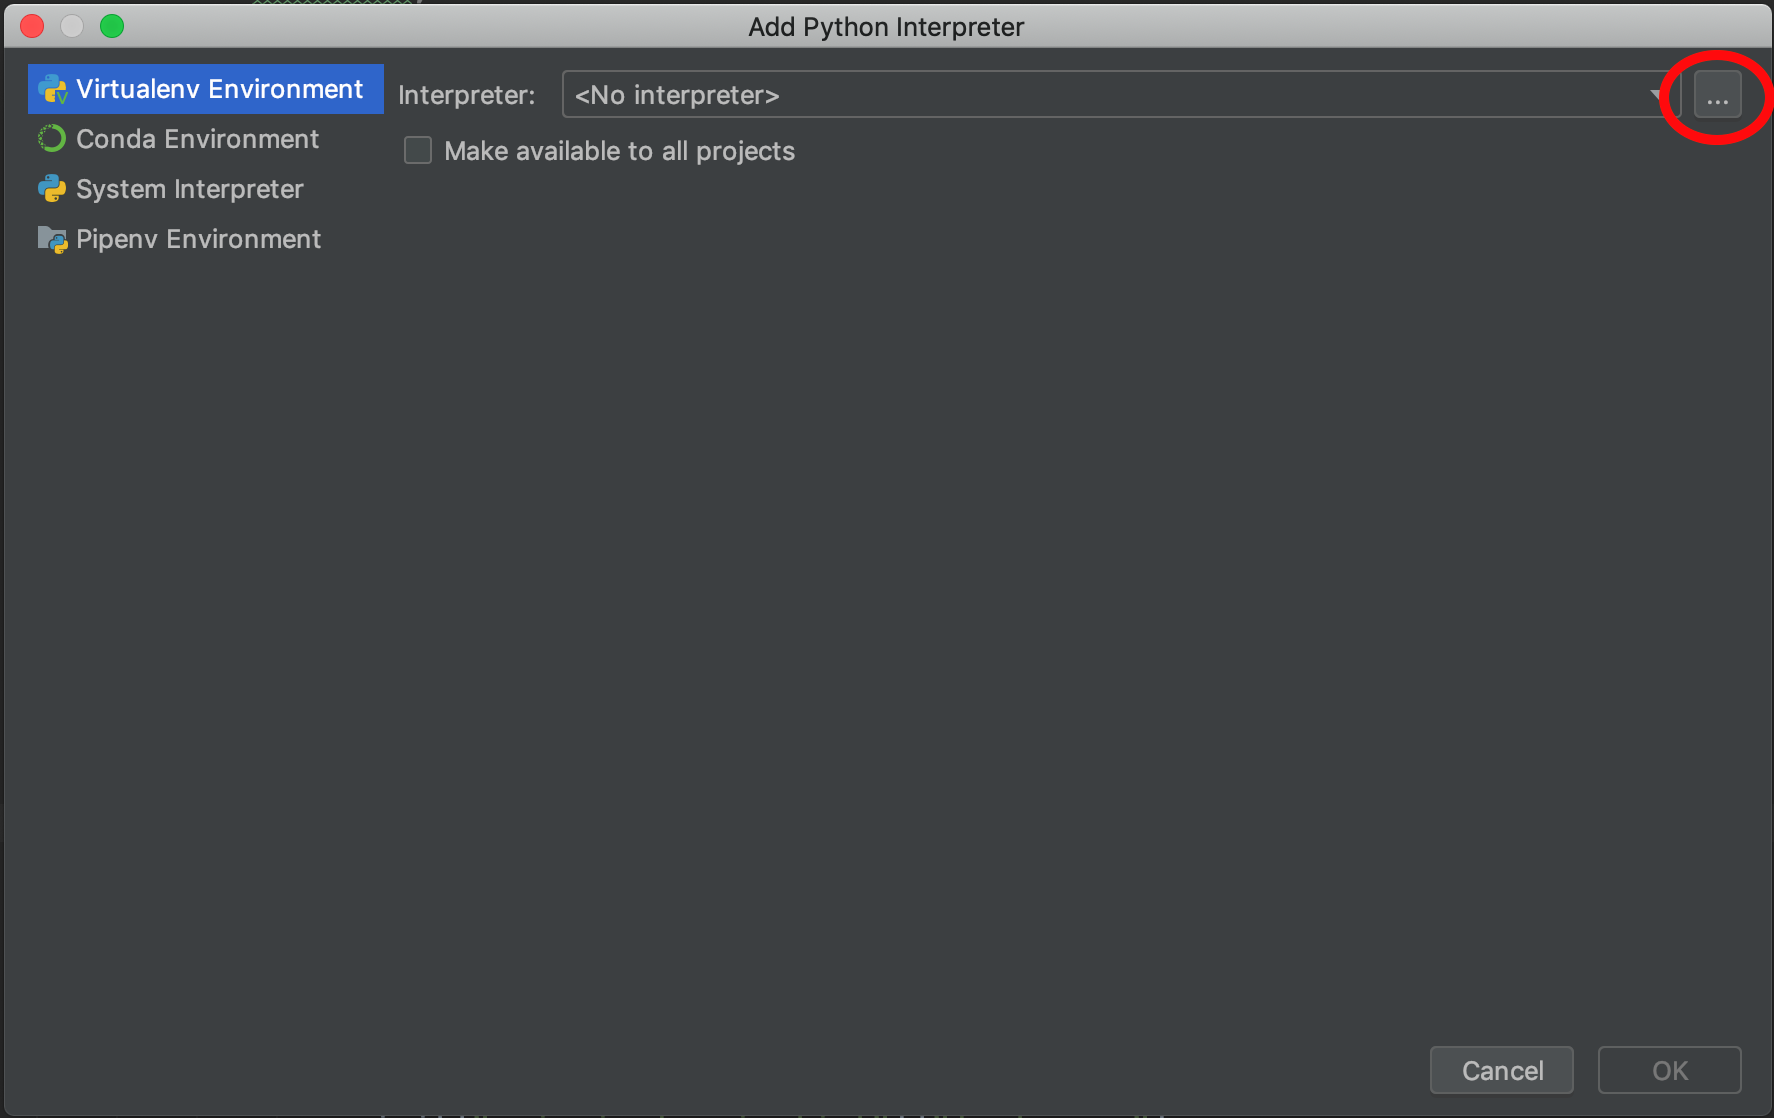
Step 1: Select your IDE of choice (Integrated Development Environment).
This is the software interface for Python that you’ll use to interact with your code. MASSIVE already has PyCharm and Spyder installed, so it’s easy to get started with these IDEs specifically when setting up your virtual environment (venv) on MASSIVE.
-
Login to MASSIVE desktop
-
Go To Applications > Full List of Apps > PyCharm
-
Once PyCharm is up and running, select File, New Project
-
You will be presented with the Create Project window. Click on the arrow next to ‘Project Interpreter’
-
Select ‘Existing interpreter’ and click the ‘browse’ icon.
-
Browse to the location where you created your virtual environment, enter the ‘bin’ folder, then select the ‘python’ executable. Click OK.
-
Click OK
-
Back on the Create Project window, enter the new project name. Click OK. You now have a PyCharm project setup using your new virtual environment.


Miniconda allows you to manage multiple Python environments with conda. Detailed instructions to install Miniconda on M3 can be found at Running Miniconda on M3.
Miniconda is the MASSIVE team's preferred Python install method on M3 because: They provide a user-friendly script to install your own copy of Miniconda on M3, minimising installation difficulty. Installing Miniconda using our script automatically creates an environment called jupyterlab which can be used with the JupyterLab option in Strudel2. Miniconda installs a reduced set of initial packages, ensuring you only install packages you intend to use. Using our Miniconda install script also ensures that if you need any assistance, our team has more clarity on how best to help.
Anaconda allows you to manage multiple Python environments with conda. Detailed instructions to install Anaconda are found at Running Anaconda on M3.
Anaconda installs more initial packages than Miniconda, and we do not provide an installation script for Anaconda.
M3 offers static Python builds which can be used to create a virtual environment (venv). A Python virtual environment effectively creates your own copy of Python, allowing you to install any Python packages you require. You are able to have multiple virtual environments, each with different packages installed; pip will manage the packages. Detailed instructions to set up a virtual environment are found at Running Python Virtual Environments on M3.
The difference between a virtual environment and a conda install is that conda will manage your packages and environments, and allows you to use languages other than Python. You may find virtual environments offer everything you need, or prefer conda for its additional features.
- Download the base Python language here Any version should be fine, but we recommend at least 3.7+ for most neuroimaging packages
- Choose and download your IDE: PyCharm - freely available here Spyder - you can access through Anaconda, freely available here
Start with a simple self-paced course (intro to variables and if statements) ~1 hour. This will give you a very brief introduction to Python and programming.
Alternatively, try this intro to Python for data science course ~4 hours This covers a bit more, including functions, and an intro to stats in python.
Introduction to plotting and data visualisation in Python via Matplotlib Most other plotting tools (including ones listed below) are built upon Matplotlib, so these are important fundamentals
Or this more comprehensive course on Python for neuroscience This course does not include videos It covers basics from variables and loops, to data manipulation and statistics. It might be good to check it out to fill in the gaps in your knowledge
Start here: Introduction to MRI in Python ~1 hour Specifically, you should complete: Section 3: Anatomy of a NIfTI Section 5: Exploring open MRI datasets The other sections can provide a general overview of basic programming and neuroimaging principles, but these two sections provide the best and most direct introduction to basic neuroimaging in Python.
Next, complete these more detailed lessons as needed depending on what modality you’re working with: sMRI analysis in Python fMRI analysis in Python dMRI analysis in Python
You do not need to complete all of these lessons, only the ones that you'll need to based on your project's requirements. If you don't know what you'll be using in your project, ask your supervisor and they'll be happy to help.
Familiarise yourself with some general purpose plotting tools in python via nilearn.plotting, including plotting of: Volumetric data Surface data FC matrices fMRI carpet plots
Like the previous lesson, you likely won't need to complete all of these tutorials; only the ones you'll actually use in your specific project.
MRI preprocessing pipelines in Python (warning: more complex than previous resources) Gradient analyses in Python (also includes examples for loading and plotting fMRI data and FC matrices)
These are some additional lessons that showcase what can be achieved in Python for neuroimaging. If your work needs these speciality tools, this might be helpful. Otherwise, these might be fairly niche.
Machine Learning in Python Semi-introductory course to Python with an emphasis on ML.
Python Cheat Sheet Basic guide that covers types of variables, lists, dicts, functions, numpy, matplotlib, etc.